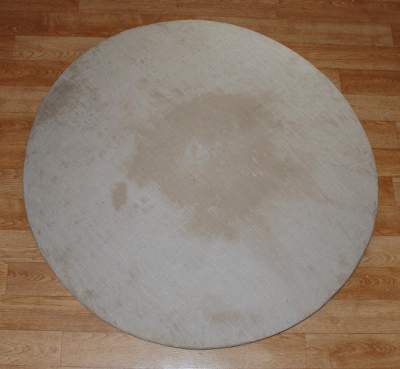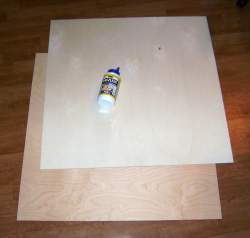
Flat shield body
Materials
- 1 wooden board
- 500 g waterproof wood glue
- fabric
The wooden board must be the size of the shield. The size needed also depends on the edge protection. If a rope is added, the wooden body must be correspondingly smaller.
I recommend a waterproof glued plywood board with a thickness of 6 mm made of either beech (heavy and very stable), ash (stable) or birch (light and somewhat softer). Not all types of wood are waterproof. It is essential to pay attention to this, as otherwise the glue will come loose and the wood will curl even after getting slightly wet.
Marking
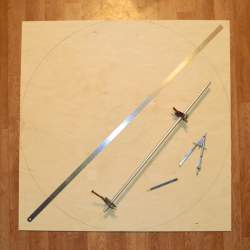 The centre must be marked, the radius of the shield and that of the hump. That is all.
In the drawing, all lines are drawn, but only the blue lines are sawn.
Cutting and smoothing
Now saw out on the lines drawn and then deburr the edges for the appropriate border. (For a rawhide edge round off, for a leather edge round off only slightly).
The hole for the hump should be rounded on the inside of the shield.
Fabric Gluing
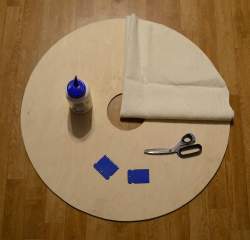 For the gluing we need the fabric, the glue, a serrated spatula and a rolling pin.
First cut the fabric roughly into shape.
Then glue is applied to the shield with the spatula so that the shield is well covered. Then the fabric is laid on, smoothed out and pressed on with the roller.
(The roller should be cleaned directly after the process, otherwise it is very difficult to clean it).
The pressing on should be repeated regularly during the first 15 minutes.
After that, the glue must dry for one day.
Glue fabric around the edge
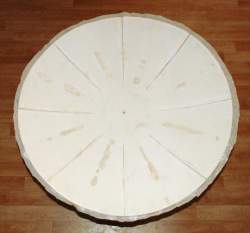 The excess fabric can now be cut off so that it is still possible to enclose the edge. This additionally stabilises the edge.
In most cases about 2 cm overhang should be sufficient.
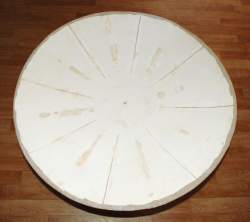 Then, piece by piece, coat the rim with glue and place it around the rim.
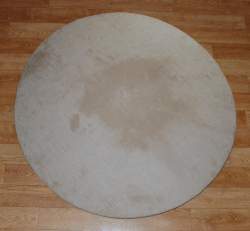 The whole thing has to dry again and the shield body is finished.
