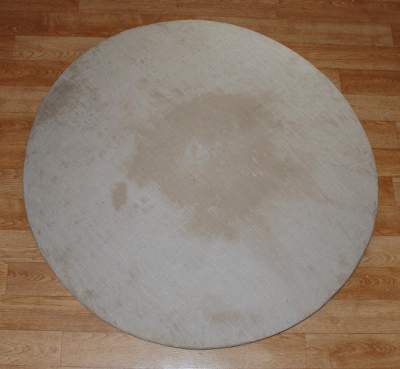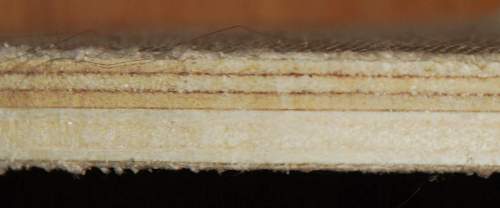
Curved shield body
Materials
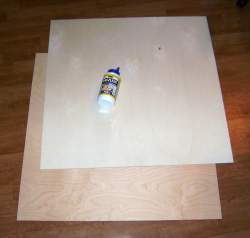
- 2 wooden boards
- 500 g waterproof wood glue
- cloth
The wooden plates have to be a bit bigger than the shield should be in the end, because the diameter decreases due to the curvature. The size needed also depends on the edge protection. If a rope is added, the wooden body must be correspondingly smaller.
In this case I used the following wooden boards:
One poplar board 1300 g
One birch board 1775 g
Marking
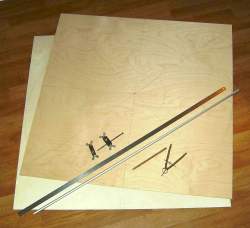 Mark out the following:
The centre (for a hole),
the positions for the incisions to make a bulge possible,
the radius of the hump, so that glue can be saved.
And because we are marking anyway:
The radius of the hump plus approx. 5 cm (up to this point it will be cut in)
and the radius of the shield so that the corners can be cut off.
 In the drawing, all the lines are drawn, but only the blue lines are sawn.
Cutting
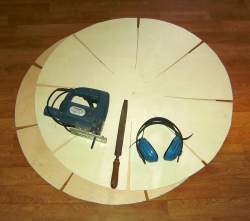 When cutting to size, make sure that the boards do not tear out too much.
The corners are simply removed.
The cuts are a little more complicated. Their outer width depends on the diameter of the signboard, inside they are always as wide as the saw blade is flat.
On an 80 mm blade, the incision is about 1.2 cm wide and decreases towards the centre.
Exaggerated, the cuts look like this:
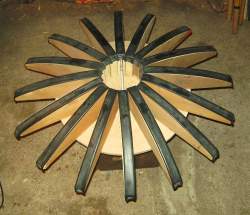 In some cases I corrected the cut edges with the rasp after cutting to size.
From time to time I put the boards against the mould to see if the gaps between the cuts are correct.
The hole for the handle is not cut yet.
For my example sign, the weight has changed as a result of the cutting as follows:
Weight of the poplar board: 1025
Weight of the birch panel: 1400
Gluing
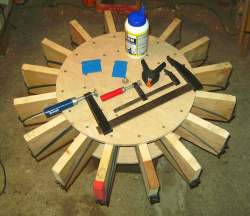 For gluing, we need the following tools in addition to the mould (shield generator): 16 large screw clamps with a span of at least 20 cm, 16 small show clamps, 32 shims for the screw clamps and some glue clamps, as well as a spatula with prongs.
Before you start gluing, you should practise screwing the mould together with the boards. You can then also check whether the gap between the incisions really fits under pressure or whether there are any distortions.
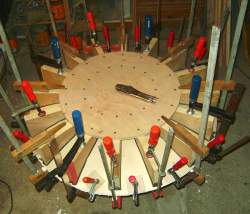 Place the boards one after the other on the central screw of the outward curved moulding so that the incisions are offset from the previous layer(s). With two boards evenly centred with three offset by 1/3 each.
Then the inward curved moulding is placed on the screw, checking and correcting the fit of the boards. Then the mouldings are joined by the screw.
Then first the lamellas are pressed together with the large screw clamps. Always alternate the opposite slats and then the slats in between.
Then the small screw clamps are screwed onto the signboard. Small boards are placed underneath to protect them.
Last but not least, glue clamps can be used to press down further positions.
When this has worked on a trial basis: Take everything apart again.
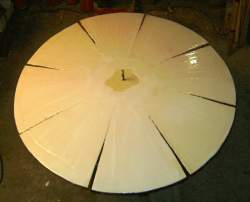 Now apply the glue evenly so that the plate is well covered. The centre, where the finger hole will be, can be left free.
It is best to apply the glue with a serrated spatula.
Now screw the whole thing together again. The glue can cause the boards to slip in relation to each other, this should be prevented.
After screwing together, the shield generator must rest for a few days so that the glue can dry through.
Since it is a large area, I usually let the whole thing rest for a week.
After drying, all screws are loosened again and the shield now has its curved shape.
Correction gluing
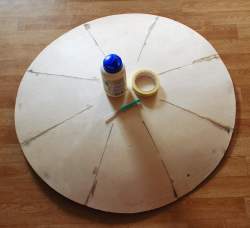 You need a syringe with a larger tip (1.2 mm) and some adhesive tape.
This can only be used to correct small gaps and mistakes. If gaps have appeared, they can be filled with it. This can take some time, depending on how cleanly the gluing with the sign generator worked beforehand.
In the case of my example sign, the weight after gluing was 2558g.
Radius correction and smoothing
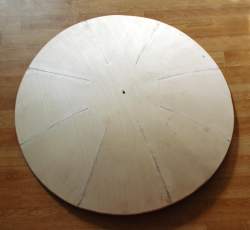 After gluing, the final diameter can now be determined.
So mark the diameter, saw it out and deburr the edges for the appropriate rim. (For a rawhide edge round off, for a leather edge only round off slightly).
Furthermore, it makes sense to smooth everything a little again. This can be done with a sanding machine or with sandpaper.
The weight of my example plate was 2380 g after the corrections.
Fabric gluing
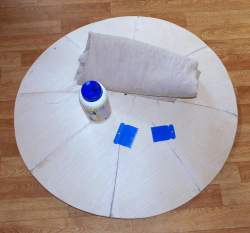 To glue on the fabric, you will again need the fabric, the glue, a serrated spatula and a rolling pin.
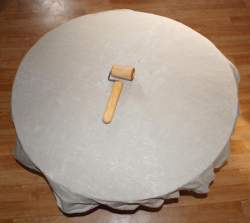 }}
The fabric is first roughly cut into shape.
Then glue is applied to the shield again so that the shield is well covered. Then the fabric is laid on, smoothed out and pressed on with the roller.
(The roller should be cleaned directly after the process, otherwise it is very difficult to clean it).
The pressing should be repeated regularly during the first 15 minutes.
After that, the glue must dry for a day.
Gluing fabric around the edge
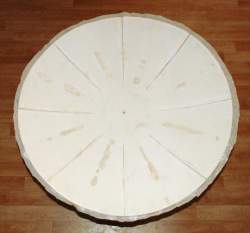 The excess fabric can now be cut off so that it is still possible to enclose the edge. This stabilises the edge additionally.
In most cases this should be about 2 cm.
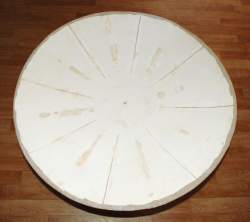 Then, piece by piece, coat the fabric edge with glue and place it around the shield edge.
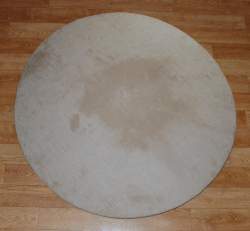 The whole thing has to dry again and then the shield body is finished.
My example sign weighed 3030 g.
